
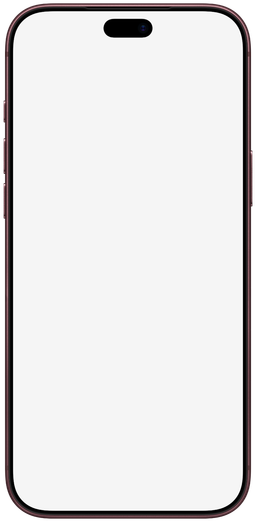
Start with the screen, not a photo of the phone
Use a screenshot from your app, simulator, or design file. A screenshot keeps text and UI sharp; a photograph of a screen includes reflections and perspective that do not fit a straight device frame.
Choose the iPhone model you are presenting. The catalogue lists its screen dimensions. For example, the iPhone 18 Pro Max frame uses a 1320 × 2868 screenshot, while the 18 Pro uses 1206 × 2622. A larger file with the same proportions also fits.
Add your screenshot and choose a color
Open a model and drop your image onto the screen, or select Add your screenshot. PNG, JPG, and WebP files are supported, up to 20 MB each. The editor places the image behind the device frame and its screen cutout.
Pick a color, then check the corners, navigation bar, and bottom of the screen. If the image is cropped, open More options and choose Fit image, or adjust the crop and position. Avoid enlarging a small source image: a larger export cannot restore missing detail.
Choose transparent PNG or a finished canvas
Device only exports the framed screenshot as a transparent PNG. Place it on your own website background, a presentation slide, or a design canvas. Canvas mode lets you add a background and choose an output size before downloading.
An iPhone mockup template here means an editable device frame in the browser. You do not need a PSD, Photoshop, or an account. The result is a PNG image, rather than a layered PSD or an editable Figma component.
Make a consistent set
Add up to 10 screenshots to a draft and use the same frame color and export settings. Download the individual PNGs together as a ZIP. Check each screenshot after cropping, especially if some images have different proportions.
Screenshots are processed on your device. Drafts stay in the browser where you created them; download the finished images before clearing site data.
Written by mockdevice · Updated October 20, 2026